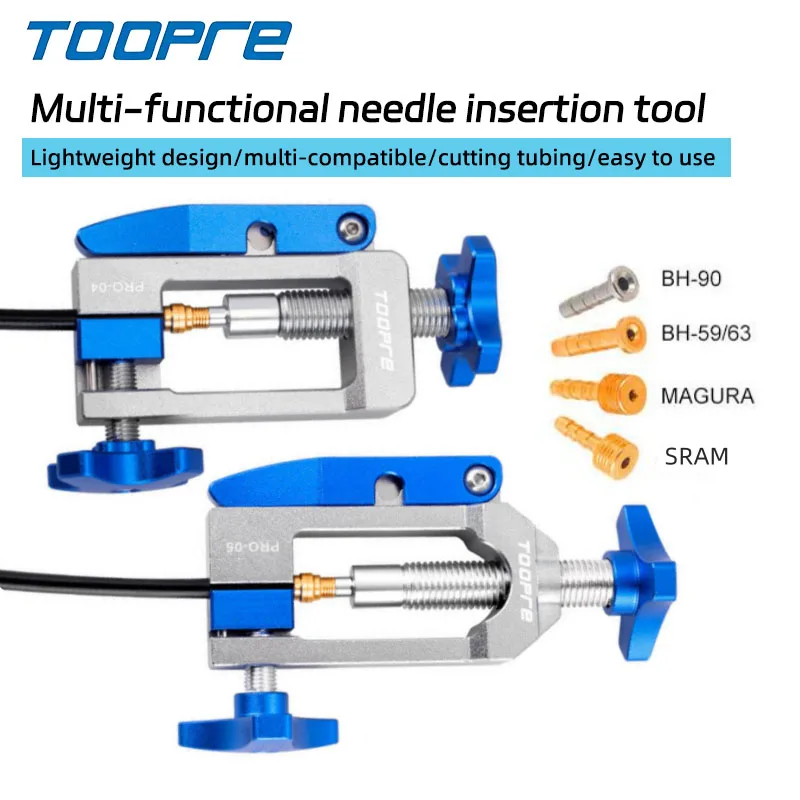
TOOPRE Bike Hydraulic Disc Brake Oil Needle Tools Driver Hose Cutter Cable Pliers Olive Connector Oil needle Insertion Tools
Tools
The reviewer does not explicitly mention the TOOPRE Bike Hydraulic Disc Brake Oil Needle Tools Driver Hose Cutter Cable Pliers Olive Connector Oil needle Insertion Tools by name. However, during the hydraulic brake hose shortening and olive/pin installation process, the reviewer refers to using a small tool to cut the hose and a tool to press the pin into the hydraulic line, which may correspond to the described product. The reviewer notes that the necessary parts (olive, olive pin, and threaded fitting) are often included with a groupset and that a tool is needed to insert the pin and olive before connecting and bleeding the brake.
AI Summary
Key Points
- The reviewer mentions using a small tool to cut the hydraulic hose.
- The reviewer describes using a tool to press the pin into the hydraulic line.
- The reviewer states that the olive and olive pin are often included when purchasing a groupset.
more key points in the video

RIDERACE Bike Handlebar Cutter For 22.2 /28.6mm Seatpost Repair Tools Bicycle Carbon Fiber Steerer Tube Cutter Fork Cutting Tool
ToolsThe reviewer does not explicitly name or evaluate the RIDERACE Bike Handlebar Cutter. He does, however, describe using a steerer tube cutting guide/tool that holds the fork and provides a saw guide slot for making a straight cut. He notes he is using normal metal saw blades rather than carbon-specific blades, and he emphasizes safety measures such as wearing gloves, laying down paper, and wearing a mask due to carbon dust. He also mentions the cut went smoothly after he corrected his marking line to account for the compression plug lip.
AI Summary
Pros
- The cutting guide/tool helps ensure a straight cut by holding the fork and providing a saw guide slot
- The steerer tube shortening process went smoothly (reibungslos)
Cons
- Reviewer used normal metal saw blades instead of carbon-specific blades
- Carbon dust requires gloves, paper, and a mask for safety
Key Points
- Tool holds the fork and has a saw guide slot for straight cutting
- Reviewer marked the cut line and aligned it with the guide slot
- Cut line had to be moved slightly lower to account for the compression plug lip (about 1.5–2 mm)
more key points in the video
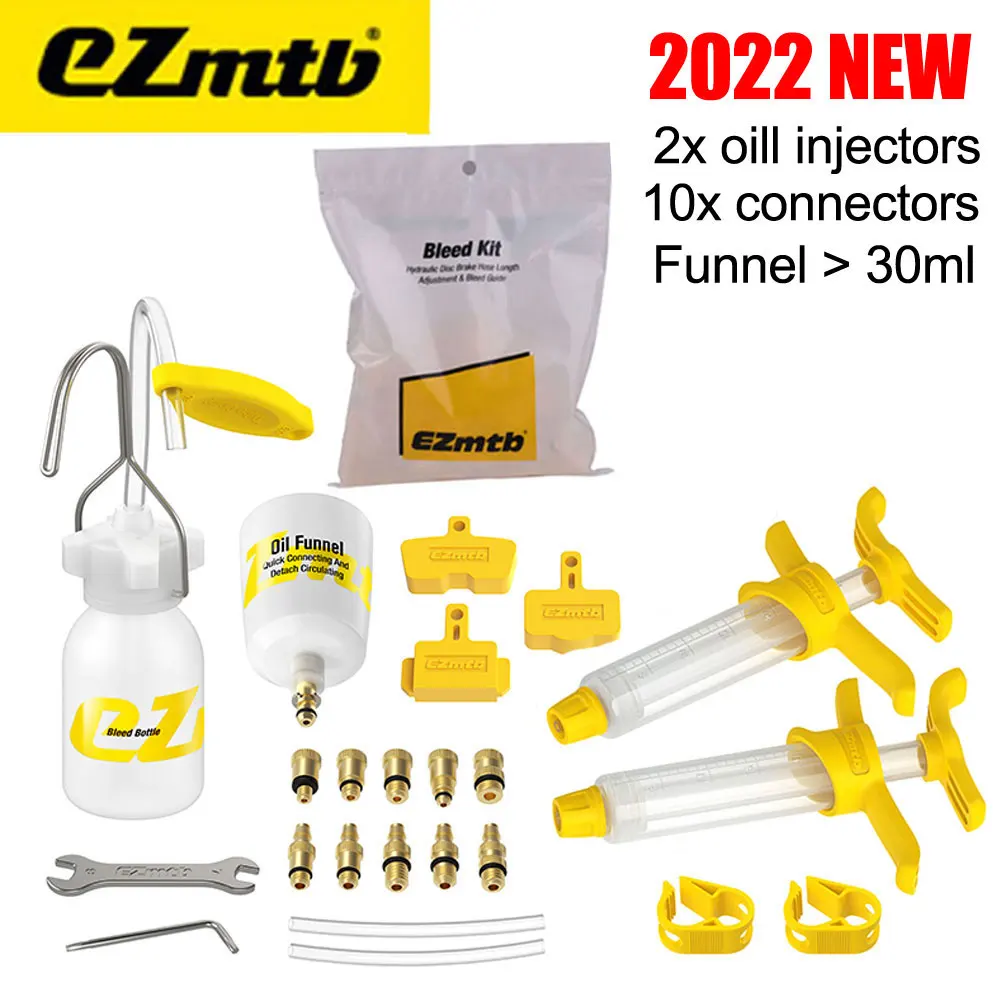
Ezmtb Bicycle Hydraulic Disc Brake Oil Bleed Kit Tools For ,SRAM, SHIMANO,MAGURA,Avid,Series MTB Road Bike Brake Repair Tool
ToolsThe reviewer briefly mentions using an Easy MTB bleed kit (purchased from AliExpress) to bleed the hydraulic disc brakes during a bike build. He describes the bleeding process using a small funnel filled with mineral oil and a syringe to push oil through the brake line, then pumping the brake lever to return the oil and remove air. He states that after repeating this two or three times, the brake is bled. No further details about the kit's quality, compatibility, or performance are provided.
AI Summary
Pros
- The bleed kit worked for the brake bleeding process described.
Key Points
- The bleed kit is from Easy MTB and can be purchased on AliExpress.
- The kit includes a small funnel and a syringe.
- Mineral oil is used in the bleed process.
more key points in the video

TOOPRE 12-Speed Bicycle Chain
ChainThe reviewer does not mention or discuss the TOOPRE 12-Speed Bicycle Chain anywhere in the transcript. The chain-related discussion focuses on waxing a chain, shortening it with a chain tool, and drivetrain noise/chainline issues, but no specific chain brand or model is named.
AI Summary

CYCLAMI Ultralight TPU Inner Tube 700C
TubesThe provided transcript does not contain any discussion of the CYCLAMI Ultralight TPU Inner Tube 700C. The excerpt focuses on assembling a bike frame, including carbon paste, headset bearings, fork cutting, brake rotors, cassette installation, and cable routing. The reviewer mentions installing tires and tubes generally, but never references the CYCLAMI TPU inner tube or any specific inner tube product by name or detail.
AI Summary

VOOK Veposs RS600 Tyres
TiresThe provided transcript excerpt does not contain any discussion of the VOOK Veposs RS600 Tyres. The excerpt covers frame assembly, headset bearings, fork cutting, brake rotor and cassette installation, and cable routing, but the tyres are not mentioned.
AI Summary
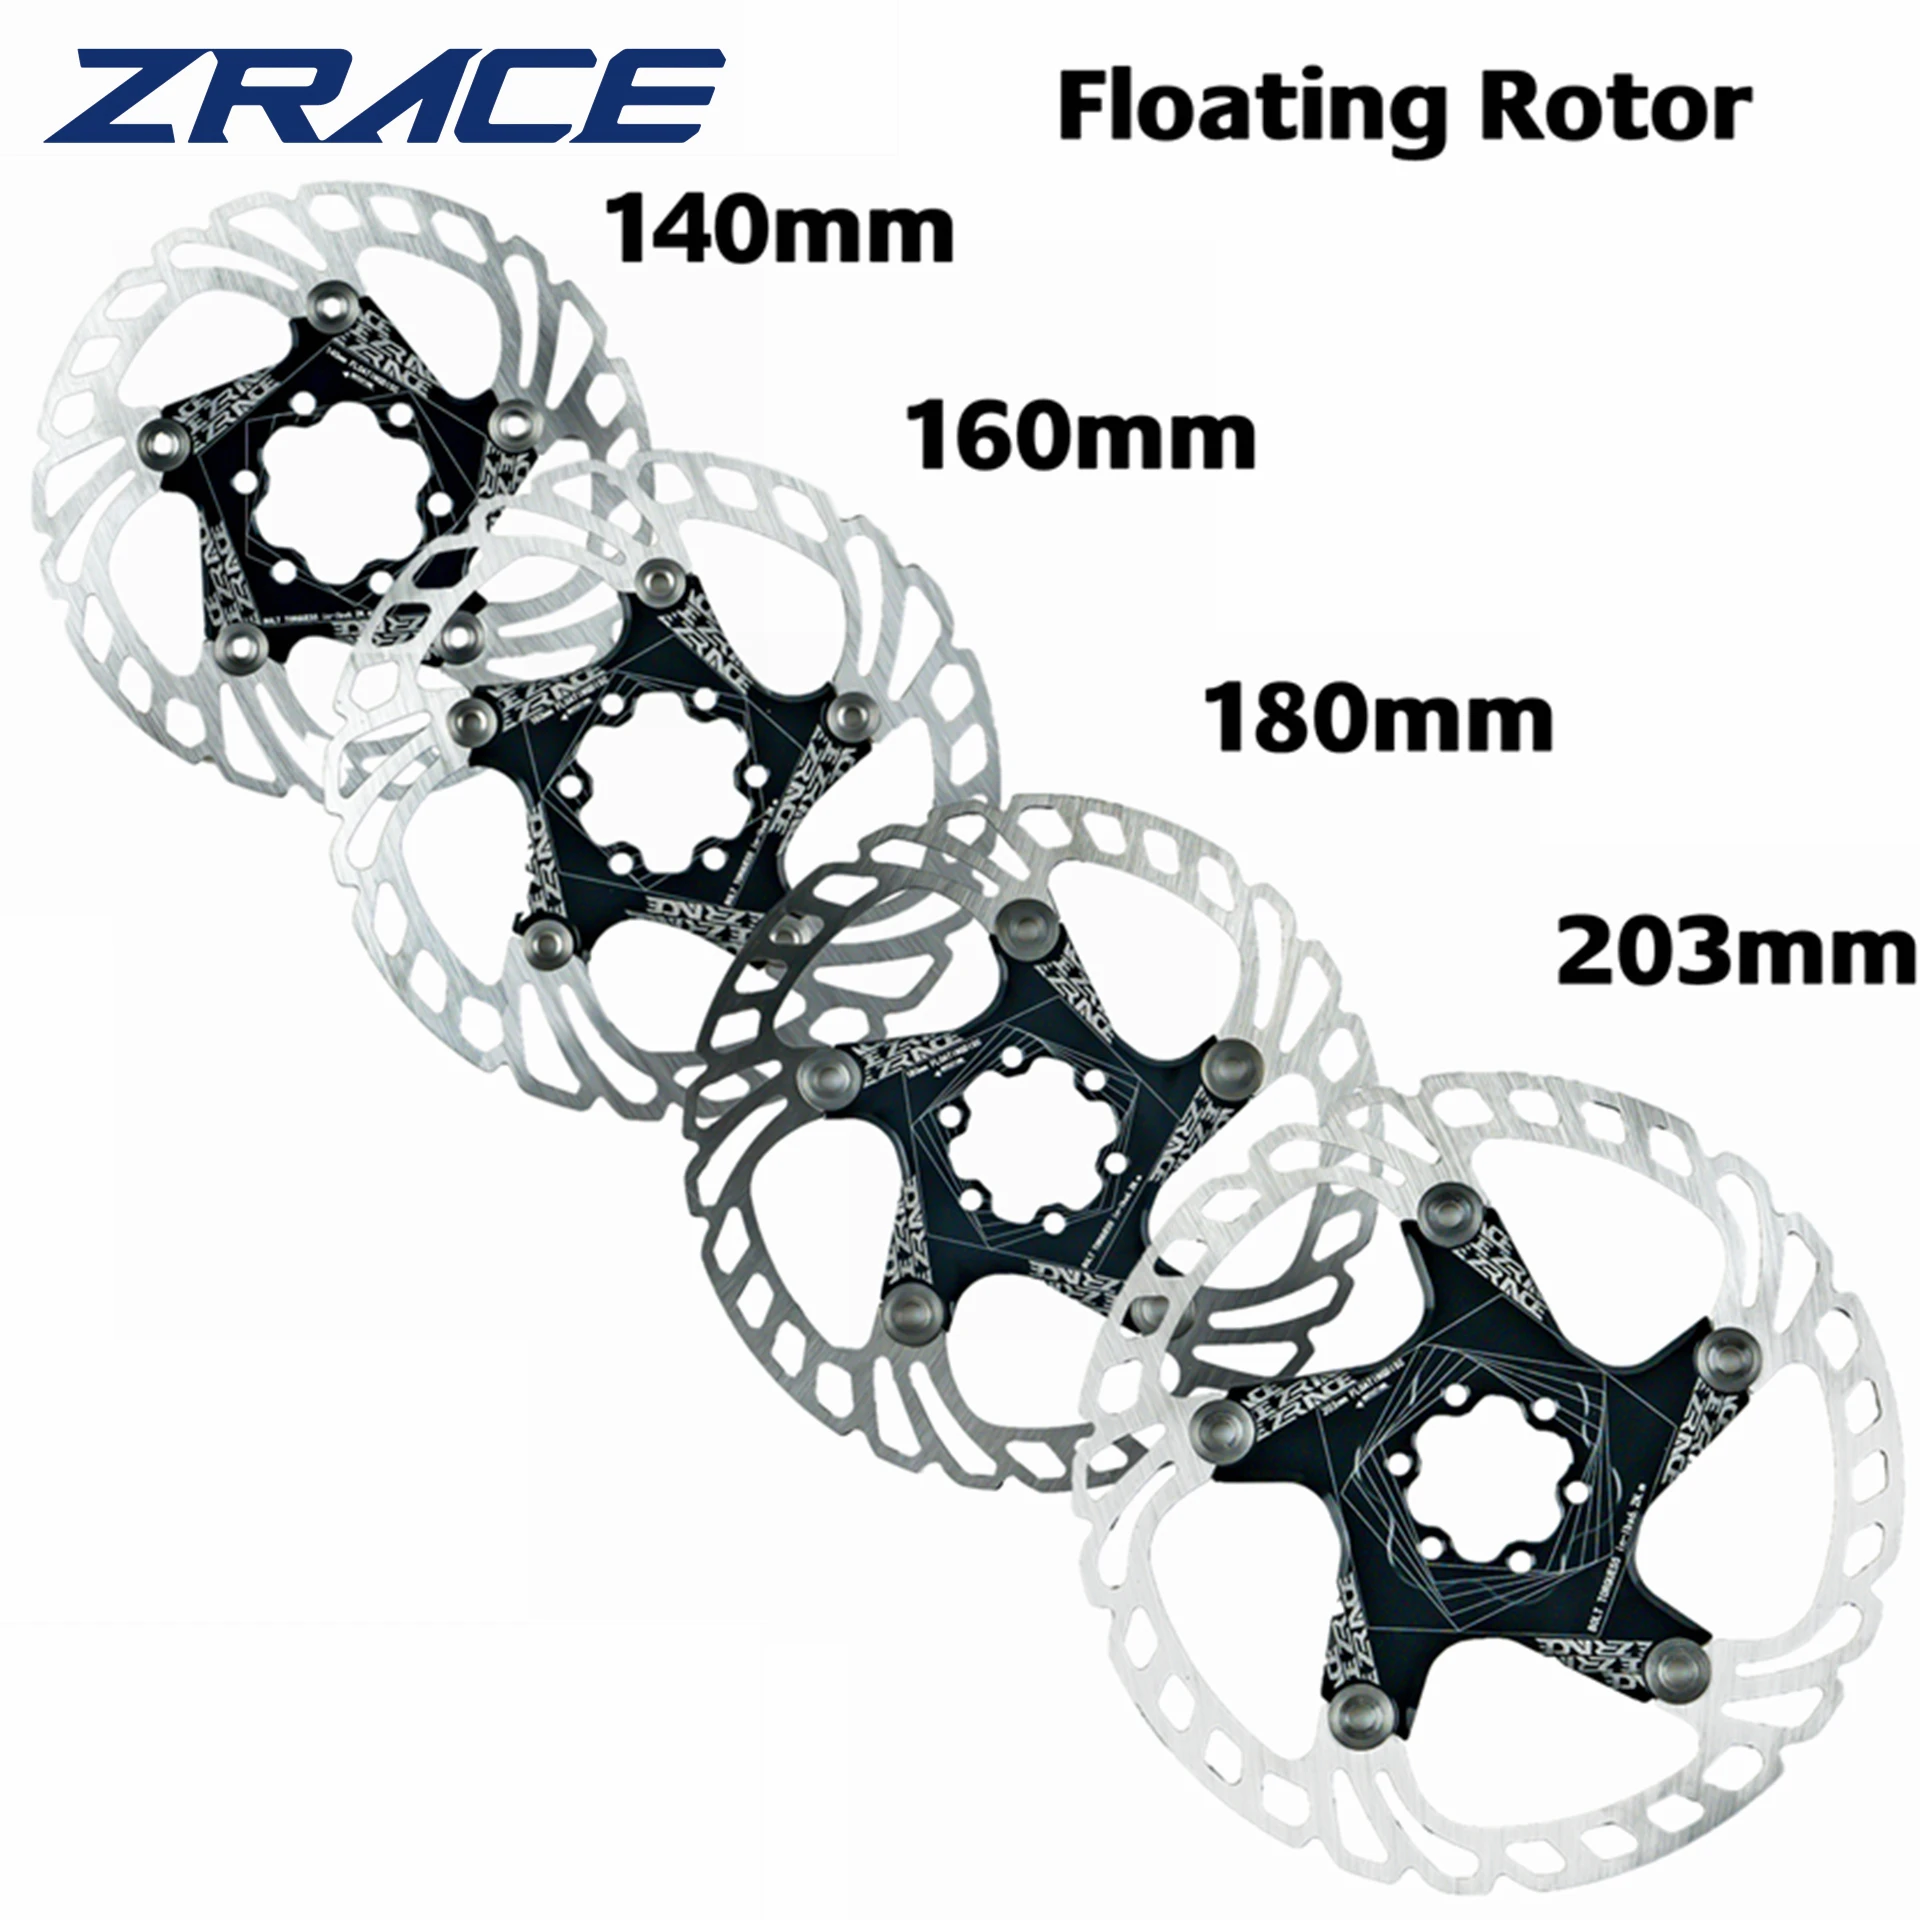
ZRACE bike brake rotor Strong heat dissipation floating rotor 160mm 180mm 203mm MTB disc brake
Disc-RotorsThe ZRACE bike brake rotor is not discussed in the provided transcript. The reviewer does not mention this product by name or describe its heat dissipation, floating design, or available sizes (160mm, 180mm, 203mm). The transcript focuses on cable routing, bottom bracket installation, and brake caliper mounting, with no specific commentary on the ZRACE rotor.
AI Summary

ZTTO SLR2 12-Speed Cassette 11-32/34T
CassetteThe reviewer does not specifically discuss the ZTTO SLR2 12-Speed Cassette 11-32/34T anywhere in the transcript. The cassette installation is mentioned only generically, without naming the model or providing model-specific commentary.
AI Summary
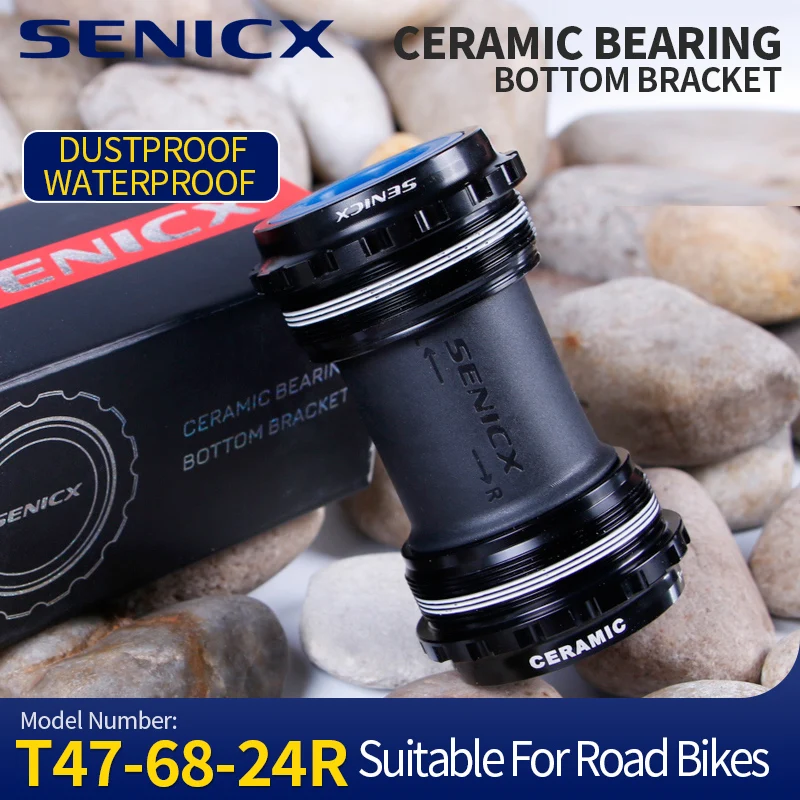
SENICX T47 68mm Ceramic Bottom Bracket Suitable for Shimano/SRAM GXP Road Bike Crank 24mm Shaft Gravel Bicycle Central Movement
Bottom-BracketThe reviewer does not explicitly name or evaluate the SENICX T47 68mm Ceramic Bottom Bracket by brand or model in the transcript. He installs a T47 bottom bracket into a Mondraker frame, noting it must be installed in a specific left/right orientation, that both sides thread in toward the rider, and that it should be torqued to 45–50 Nm. He applies Motorex Anti-Seize paste to the threads rather than grease, and mentions difficulty finding the correct adapter, ultimately using a BB T47 52 mm 16-tooth tool. No specific comments are made about ceramic bearings or the 24mm GXP shaft compatibility.
AI Summary
Pros
- Reviewer applies anti-seize paste to the threads, implying proper installation practice
- Bottom bracket installs successfully once cable routing is completed first
- Reviewer notes the correct adapter (BB T47, 52 mm, 16 teeth) fits perfectly
Cons
- Reviewer found it somewhat annoying/fiddly to find a matching adapter for tightening the bottom bracket
- The torque tool adapter is large because it is designed for an automotive torque wrench
Key Points
- T47 bottom bracket has a left and right side and must be installed in the correct orientation
- Both sides are threaded in toward the rider
- Torque specification stated as 45 to 50 Nm
more key points in the video

GOLDIX 110BCD 2x Chainring
ChainringThe reviewer does not explicitly name the GOLDIX 110BCD 2x Chainring in the transcript. He discusses mounting chainrings onto a power meter crank, noting that installing the chainring was not entirely trivial. He received instructions for the power meter but no instructions for the chainring, and he is unsure whether the second chainring should be mounted in its current orientation or rotated. He states the mounting process is relatively simple: the crank passes through and a lockring is installed, which must be tightened to approximately 40 Newtonmeters.
AI Summary
Pros
- Mounting described as relatively simple
- Chainring orientation on the crank is known to the reviewer
- Lockring installation is straightforward
Cons
- Installation was not entirely trivial
- No instructions included for the chainring
- Reviewer is unsure of the correct orientation for the second chainring
Key Points
- Crank passes through the chainring and a lockring is used
- Lockring should be tightened to about 40 Newtonmeters
- Instructions were included for the power meter but not for the chainring
more key points in the video

Superteam CX32 50mm Disc
WheelsThe reviewer does not discuss the Superteam CX32 50mm Disc wheelset in this transcript excerpt. The provided text covers general bike assembly steps—installing headset bearings, spacers, cockpit, cutting the fork steerer, mounting Center Lock brake rotors and a cassette, and routing cables through a Mondraker frame—but contains no specific commentary about the Superteam CX32 50mm Disc wheels.
AI Summary

GEOID PM500 Power Meter Crankset
PowermeterThe reviewer briefly mentions the GEOID PM500 Power Meter Crankset while assembling the bike's crankset and chainring. He notes that the power meter component was already installed and that an instruction manual was provided for the power meter, but not for the chainring. He expresses uncertainty about the correct orientation of the second chainring (whether it should be flipped or not). No performance, accuracy, or ride-quality feedback is given.
AI Summary
Pros
- An instruction manual was included for the power meter
Cons
- No instruction manual was included for the chainring, leaving the reviewer unsure of the correct orientation for the second chainring
Key Points
- The power meter part was already installed in the crankset assembly
- The crankset mounts through the bottom bracket with a lockring that is tightened to approximately 40 Newtonmeters
- The reviewer was unsure whether the second chainring should be mounted as-is or rotated

LTWOO eR7 2x12s / 2x11s Road Electronic Hydraulic Disc Brake Groupset
GroupsetThe reviewer is installing the LTWOO eR7 groupset on a bike build and comments on several aspects of the installation process. He notes that the L2 (LTWOO) documentation, both text and YouTube tutorials, is genuinely good. He describes the front derailleur installation as relatively simple, with a helpful illustration on the unit showing chainring positioning. He highlights a well-designed adjustment screw on the brake levers, accessible through a recessed notch using an Allen key, allowing the lever to be loosened or tightened. The hydraulic brake line connection uses a barb/pin, olive, and threaded fitting, which he notes are usually included with the groupset. He bleeds the brakes using an Easy MTB kit from AliExpress with mineral oil. After assembly, he reports that shifting works front and rear, and braking functions, though he initially struggled with a rubbing brake that he could not get rub-free using common tricks.
AI Summary
Pros
- L2/LTWOO documentation, both text and YouTube tutorials, is genuinely good
- Front derailleur installation is relatively simple
- Front derailleur has a helpful illustration showing chainring position/height
more pros in the video
Cons
- Brake initially rubbed and the reviewer could not get it rub-free using common tricks
- Brake lever adjustment screw is hard to see in the video
- Installation took multiple days (partly due to filming)
Key Points
- Electronic hydraulic disc brake groupset, 2x12s / 2x11s road configuration
- Uses a UDH (Universal Derailleur Hanger) for the rear derailleur
- Rear derailleur hanger screw torqued to 20 Nm; derailleur fixing bolt to 10-12 Nm
more key points in the video
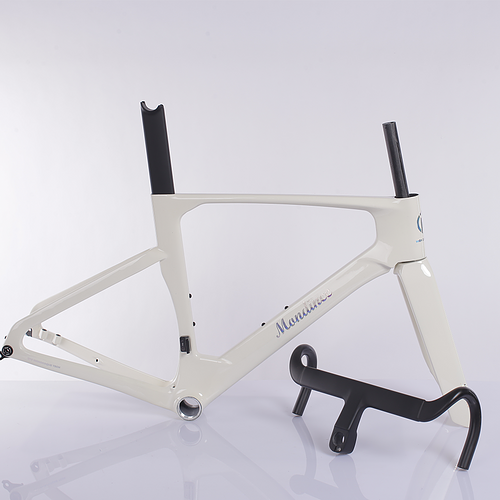
Mondince FM126
FrameThe provided transcript does not contain any mention of the Mondince FM126. The excerpt consists of a German-language bike build video (Part 2) covering battery installation into a seatpost, carbon paste application, headset bearing assembly, fork/cockpit setup, and handlebar cutting. No bike part named 'Mondince FM126' is referenced anywhere in the text, despite the claim that it is mentioned around 0:35.
AI Summary

COOSPO S10 Power Meter Spider & Crankset (Easton Cinch)
Powermeter
The reviewer discusses the COOSPO S10 Power Meter Spider, a spider-based power meter compatible with Shimano 110 BCD chainrings and an Easton Cinch axle, available as a standalone unit or as a set with an aluminum or carbon crankset (the C11 carbon set). He received it free of charge from COOSPO after having good experiences with their HW9 pulse meter, and notes that other online reviews suggest the accuracy isn't quite so good, which he expects may also show in his own testing. He describes the spider measurement principle, the company background (Shenzhen-based, formerly a contract supplier now building its own brand), and his installation experience with the Easton Cinch system, where he initially had play on the left and right and had to add roughly 3 mm spacers per side after consulting COOSPO.
AI Summary
Pros
- Reviewer had very good prior experiences with COOSPO's HW9 pulse meter, which motivated him to try their power meter
- Comes with a carbon crankset for just under 400 euros, and can be cheaper with a discount code
- Well-illustrated instructions included
more pros in the video
Cons
- Existing online reviews indicate the accuracy isn't quite so good, and the reviewer expects one or two problems may show in his video too
- Spider-based measurement has greatest inaccuracies when starting pedaling, stopping pedaling, and changing cadence
- Left-right balance is calculated rather than measured, so differences cannot be measured accurately
more cons in the video
Key Points
- Power meter for the chainring spider, compatible with Shimano 110 BCD chainrings
- Uses an Easton Cinch axle, allowing connection of different axles
- Available individually to combine with your own crank, or as a set in aluminum or the C11 carbon set
more key points in the video